الوصف
The Auto Reed Hook will advance across the reed automatically from
one dent to the next. The hook works most easily from right to
left, across the reed, although it can be worked from left to
right, if necessary. To become completely familiar with the hook,
we suggest that you practice first with just the hook and an empty
reed until are sure you are advancing the hook each time. Then
practice with a dummy warp, until you become used to using the hook
on your warp yarn. Specification: *0# *0# *0# **0# **0#
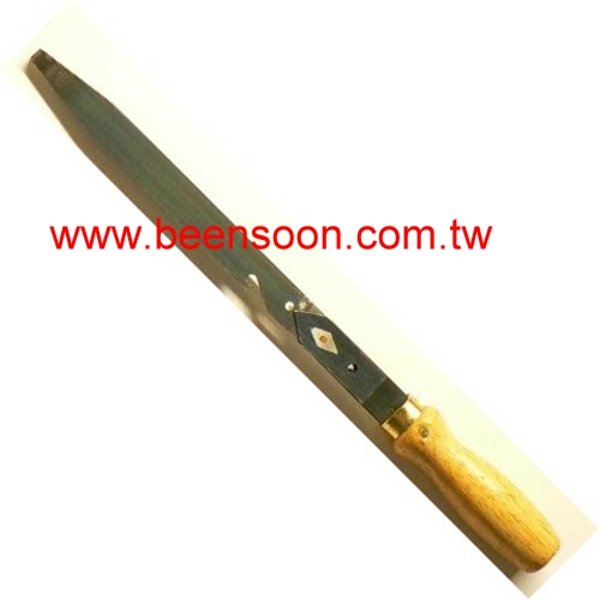
Specification: *0# Name of product:Denting Hook, Auto Reed Hook,
Reed Hook Material: Import Japan’s Steels The length of the whole
product :**7mm The length of the Steels :**7mm The thickness of the
jar: 0.4mm The length of the handle: *0mm Specification: *0# Name
of product:Denting Hook, Auto Reed Hook, Reed Hook Material: Import
Japan’s Steels The length of the whole product :**7mm The length
of the Steels :**7mm The thickness of the jar: 0.*5mm The length of
the handle: *0mm Specification: *0# Name of product:Denting Hook,
Auto Reed Hook, Reed Hook Material: Import Japan’s Steels The
length of the whole product :**7mm The length of the Steels :**7mm
The thickness of the jar: 0.3mm The length of the handle: *0mm
Specification: **0# Name of product:Denting Hook, Auto Reed Hook,
Reed Hook Material: Import Japan’s Steels The length of the whole
product :**7mm The length of the Steels :**7mm The thickness of the
jar: 0.*5mm The length of the handle: *0mm Specification: **0# Name
of product:Denting Hook, Auto Reed Hook, Reed Hook Material: Import
Japan’s Steels The length of the whole product :**7mm The length
of the Steels :**7mm The thickness of the jar: 0.*5mm The length of
the handle: *0mm Using the Auto Reed Hook 1. Place the reed in your
usual threading position. The Auto Reed Hook works with the reed in
either a horizontal or a vertical position. 2. The threading hook
is in the center of the metal blade (see illustration). The bent
tip of the hook, keeps the hook from falling out of the reed. 3. To
insert the Auto Reed Hook in the reed, place the hook parallel to
the reed with its threading hook on the underside of the blade, and
the bent tip facing the reed. Insert the bent tip through the reed,
one dent to the right of the dent where you plan to begin threading
the reed. The bent tip should point to the left (in the direction
that the hook will be moving). 4. To advance the hook from right to
left: Lean the blade toward the left side of the dent and push the
auto hook through the reed until the handle reaches the reed. As
you do this, watch to see that the metal clip, on the left side of
the hook, is forced into the next dent to the left. Note: If you
need to thread from left to right: This method requires that the
threading hook be on the top of the auto hook. In our opinion this
method is not as easy or efficient as the î™”ight to left?method,
but if you want to thread your reed this way, proceed as follows:
Insert the auto reed hook into the dent one dent to the left of the
first dent you want to use, with itî–¸ hook facing up, and the bent
tip pointing to the right. Lean the blade toward the right side of
the dent and operate the hook as described above for the
î™”ight-to-left?method. 5. Continue to push the hook until you feel
the widest part of the hook pass through the dent. You will hear a
clicking noise. To advance the auto hook properly, push the hook
all the way to the handle. 6. Slip the yarn into the threading hook
and pull the hook back through the reed. As you pull the hook
toward you, the hook will automatically advance into the next dent.
Do not pull the hook out of the reed. Repeat steps **6 to thread
your reed.
| بلد: |
Taiwan |
| نموذج رقم: |
AA
|
| سعر فوب: |
(قابل للتفاوض)
أحصل على آخر سعر
|
| الموقع: |
Taiwan |
| سعر الحد الأدنى للطلب: |
- |
| الحد الأدني للطلب: |
- |
| تفاصيل التغليف: |
- |
| موعد التسليم: |
2~10days |
| القدرة على التوريد: |
- |
| نوع الدفع: |
- |
| مجموعة المنتج : |
- |


")


